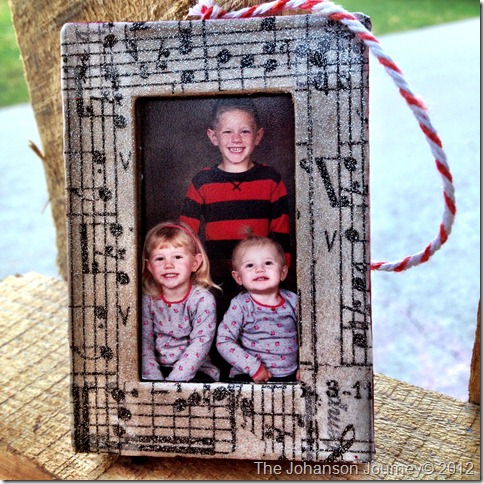
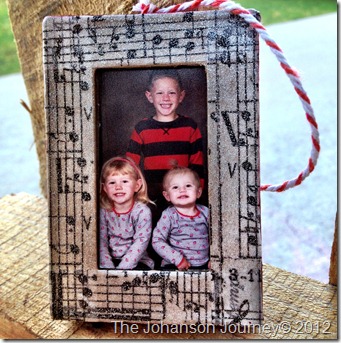
*NUO* Family Frame Ornament
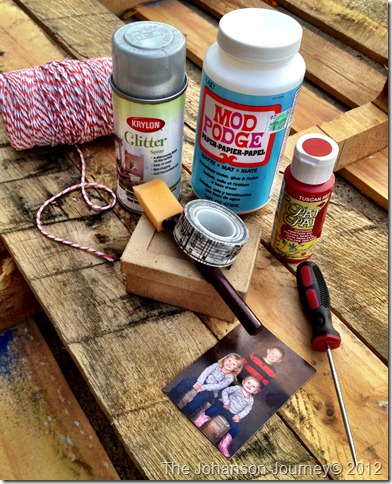
Let me show you the supplies I used and the steps I took to make this cute ornament!
*Red & White Bakers Twine
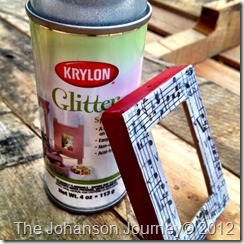
*Krylon Glitter Spray Paint
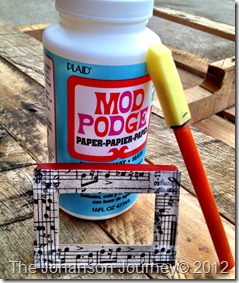
*Modge Podge Matte
*Red Acyrlic Paint
*Music Print Washi Tape
*Small cardboard gift box
*foam brush
*Poking tool {no idea what its really called}
*Picture
*Scissors {not shown}
*Krylon Glitter Spray Paint
*Modge Podge Matte
*Red Acyrlic Paint
*Music Print Washi Tape
*Small cardboard gift box
*foam brush
*Poking tool {no idea what its really called}
*Picture
*Scissors {not shown}
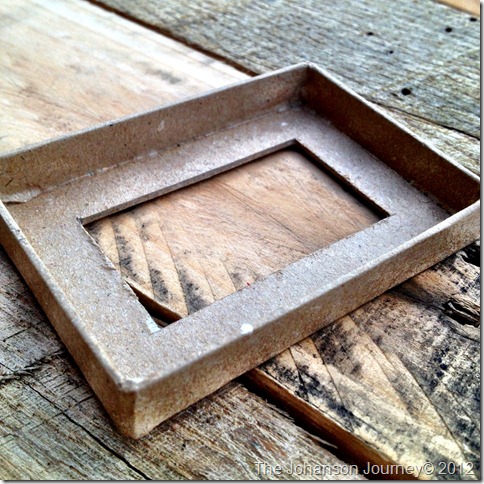
1st step: I bought these boxes at Hobby Lobby that already had the top of the box cut out, but you can certainly cut your own top and create your frame as big as you need it.
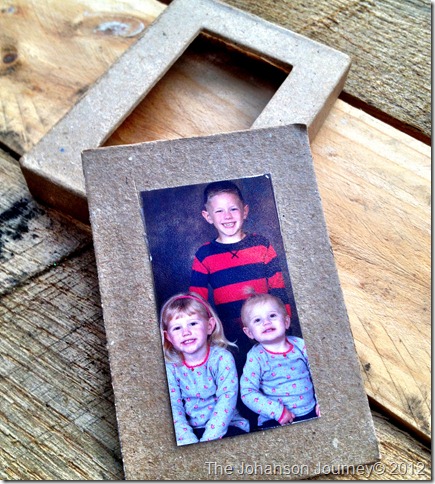
2nd Step: I cut my picture to fit in the opening of the box top and used double-sided tape to hold it in place. The precut box from Hobby Lobby comes with the backing precut to fit in the top of the box, but you can easily cut a piece of cardboard or paper to fit for holding your picture.
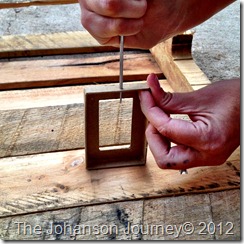
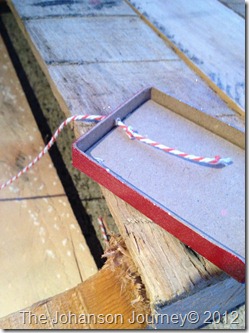
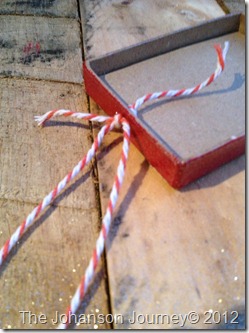
3rd Step: Using the poking tool, create a hole on the top of your frame box top.
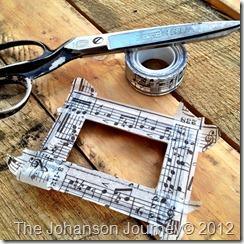
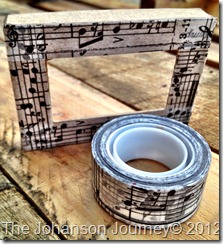
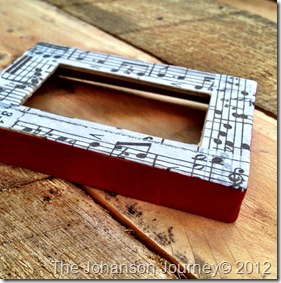
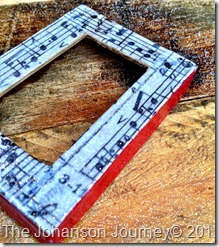
4th Step: Lay your washi tape on the top face of your frame and use the scissors to cut off the excess.
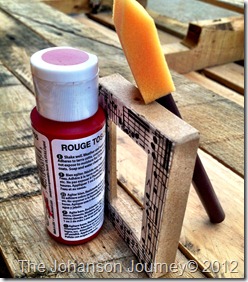
5th Step: Paint your edges with your desired paint color; in my case, I used red to match my décor. I used the very edge of my brush to paint carefully and used just a little to keep it from running over.
6th step: I don’t think any project is complete without a layer of Modge Podge. In this case, I used a Matte style and just wanted the extra security that everything was sealed up.
7th step: Once everything has dried, I generously sprayed my glitter spray on the sides and top of my frame.
8th Step: Use your twine to thread through your hole on the top of your frame and knot it on both sides, including on the top to create your loop for your ornament. I also added the picture insert during this stage, so the box opening is no longer visible.
I wish I could show this already on our tree, but we get a live tree, and they haven’t come out yet. I know it will be perfect for our theme and tree this year!
Thank you, Erin, for including me in your NUO series!
Happy Holidays everyone!




Very cute!! I love ornaments with pictures of the kids : ) Such a great reminder!
ReplyDeleteThat is a super cute ornament Janette.
ReplyDeleteWashi tape, now why am I not surprised?
ReplyDeleteLove, love, love this ornament!!! I totally want to do this:) Super cute....
ReplyDeleteI'm glad that i read www.blogger.com again
ReplyDelete[url=http://www.youtube.com/watch?v=D1AC-Q2rZLQ]christmas lights[/url]
[url=http://www.youtube.com/watch?v=GvIVTJz3vLo]fireworks show[/url]