Look What I Made! Crocheted Rag Baskets

So in addition to playing with the My Memories program this weekend I also finally got around to working on a project that has been on my crafting to-do list for quite some time!
Many years ago I inherited a very large stash of fabrics that belonged to my Grandmother. While most of it is quilting materials there were many yards of very loud Hawaiian prints. I kept telling myself that it was the volume of the print that felt overwhelming I surely could make a dress or shirt out of it. Then I asked Nate what he thought while holding the material across my body. He gave me the quizzical, one-eyebrowed, Donald Sutherland-like smirk. “Um, are you going to wear whatever you make with that?” Point taken.
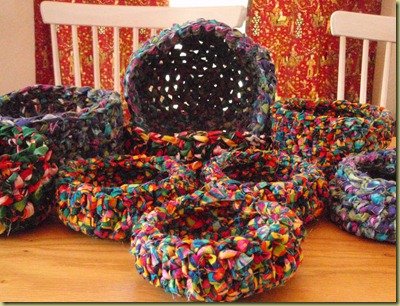
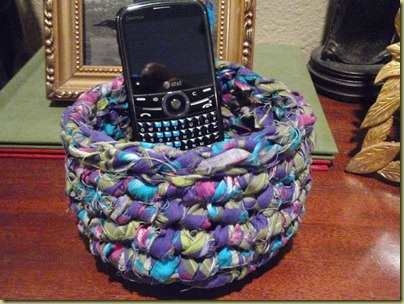
So what to do with all this material, it had spent too much of its existence sitting on a shelf, I needed to make with it! Well, when all else fails (i.e. I can’t make curtains out of it.) cut it up and crochet it! Which is exactly what I did. Here’s a quick tutorial. I’m sure I forgotten a step or two but hopefully you quick chickadees will be able to pick it up just fine.
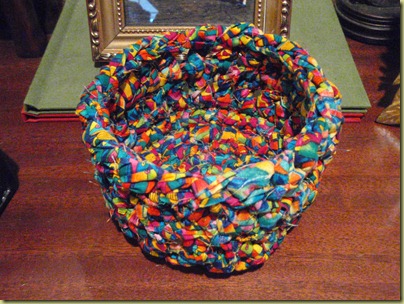
Crocheted Rag Baskets
Items needed:Material (lots of color and lots of yardage is key)
Rotary cutter or scissors
Sewing Machine (optional)
Crochet Hook (the one I used wasn’t marked but I’d say an N at the smallest. The size is going to depend on your fabric and how tight a weave you want on your basket.)
Directions
Step 1.
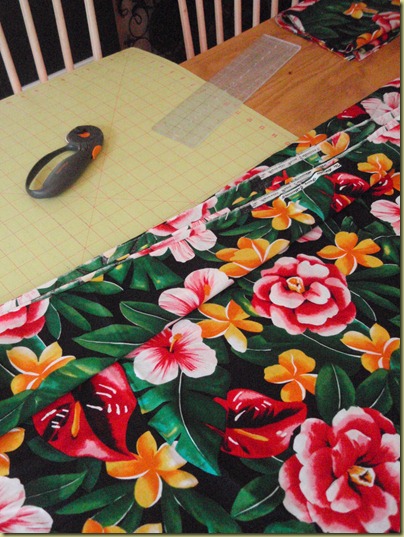
When I say you’re going to need lots of yardage, I’m NOT exaggerating. Think ten yards or more if you’re really wanting to make a lot or a large basket. Fold as thick as your rotary cutter or scissors will let you and start cutting it into strips.
The strip width is really up to you. In the picture I’m going with 1 1/2” but later with another fabric I opted for an inch and they both worked out fine and with the same sized hook. *Note because you will have a lot of material on your hands I suggest keeping them folded.
Step 2.
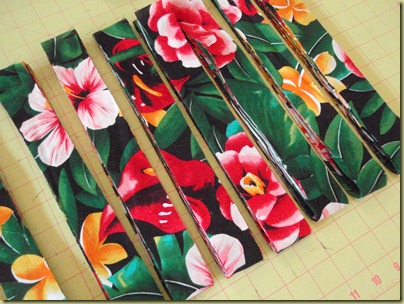
So you have your strips cut now comes the conjoining step. This is another one of those times that it’s up to you. Here are two different options.
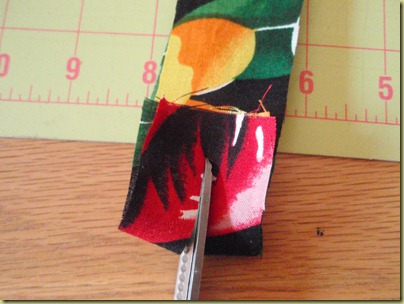
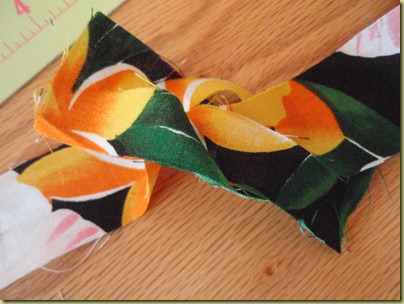
The first doesn’t require a sewing machine just a pair or scissors. What you’ll be doing is taking the ends of each strip of fabric and cutting a small slit in it. Like this.The second option is much quicker but does require the use of a sewing machine.
Now you’ll take end A and feed it through end B like so.
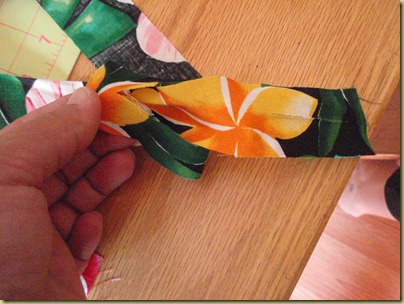
Here’s the fun part, Pull end A through end B just enough to open the slit in end A.
Now feed end A through the slit on end A. I know this sounds complicated but once you start working it you’ll get it.
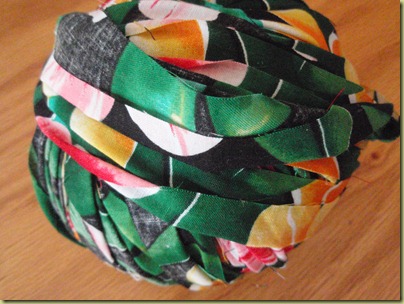
Continue this process of joining by feeding each new strip through the slit of the older. Once they are all conjoined roll them up into a tidy ball of fabric yarn.
Step 3.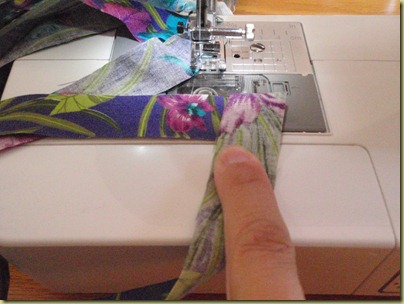
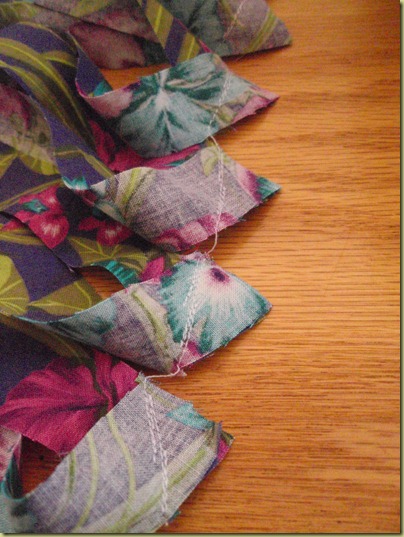
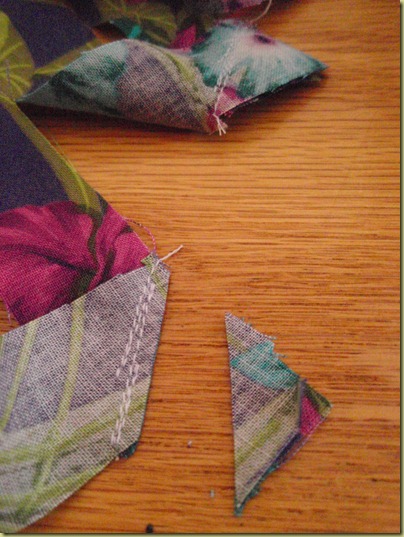
Take the cut strips and sew one end to the other. Now, because you are crocheting NOT quilting you don’t have to be exact. You could even just sew them straight across. I opted to do it on a diagonal.
Once all the strips are sewed together, resist the urge to unfold. Instead clip the excess fabric and if, like me, you’ve sew them one after an another be sure to separate them as well. Unfold each strip as you roll it into a ball.
Okay so we have big balls of fabric yard, now what?
Now you grab your crochet hook and go to town. Here is the basic pattern I use.
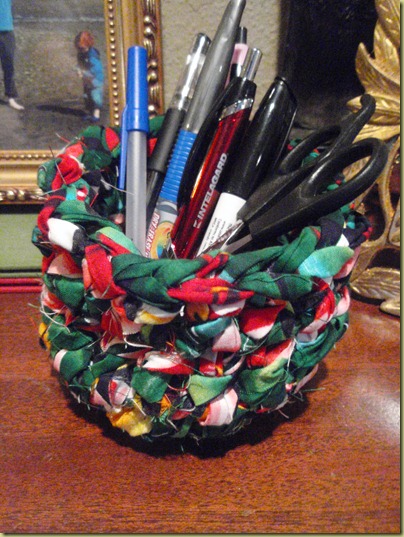
Chain 3, join with a slip stitch. Keep in mind for the base of the basket you will only be using a Single Crochet stitch.Now you should be able to make your own fabric baskets and clear room on your shelf for MORE fabrics! Here are photos of some ideal uses for smaller baskets.
Row 1: Make 2 SC in first stitch, SC in next stitch, repeat this pattern all the way around.
Row 2: Make 2 SC in first stitch, SC in next two stitches, pattern repeat this all the way around.
Row 3: Make 2 SC in first stitch, SC in next three stitches, pattern repeat this all the way around.
Row 2: Make 2 SC in first stitch, SC in next four stitches, pattern repeat this all the way around.
(Repeat this pattern until the base is as wide as you want the basket to be.)
Row ?: Now SC in each stitch all the way around. This is the base of the walls of the basket. If you want a sturdier basket do a few rows like this before moving on.
I like to work in a couple of rows of DC but this is really your preference. If you want NOTHING to get through the basket’s weave I suggest working only with SC stitches.

Check out my Linky Parties page for where I like to share stories like this one. Either follow the link or find it on the right column of the blog under pages.



I love them!!
ReplyDeleteI love the colors in these baskets. You had the perfect fabric for this project.
ReplyDeleteOoooooo.....those are COOL!!
ReplyDelete